Virtuozzo#
Installation requirements#
-
Virtuozzo Hybrid Infrastructure version 4.7.1 (50)
-
Golden image with Hystax Acura (provided by request)
-
Resources to launch a virtual machine disk created from the Hystax Acura Golden image:
- 8 vCPUs
- 16GB RAM
- 200GB SSD disk
-
Resources to launch a virtual machine instance for the Hystax Cloud Agent. Created in each target / failover project:
- 2 vCPUs
- 4GB RAM
- 20GB disk
-
SMTP server with TLS/SSL encryption
-
Security groups allowing the following traffic:
-
Hystax Acura host:
- Ingress -- tcp/443
- Ingress -- tcp/4443
- Ingress -- udp/12201
-
Hystax Cloud Agent (spawned automatically in the Target Project):
- Ingress -- tcp/80
- Ingress -- tcp/15000
-
Installation steps#
Cloud configuration#
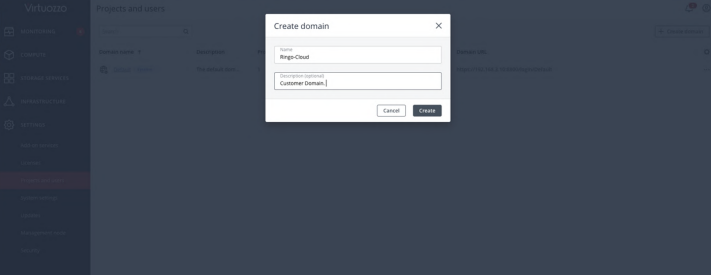
1. Create a target project domain to host customer projects (example: Ringo-Cloud). If a customer has the domain, skip this step.
Log in to Virtuozzo Hybrid Infrastructure Platform Admin Panel → Projects and Users → click on Create Domain
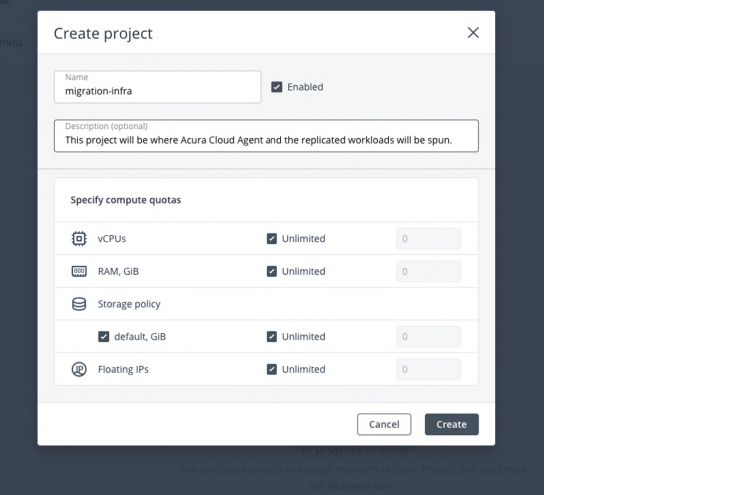
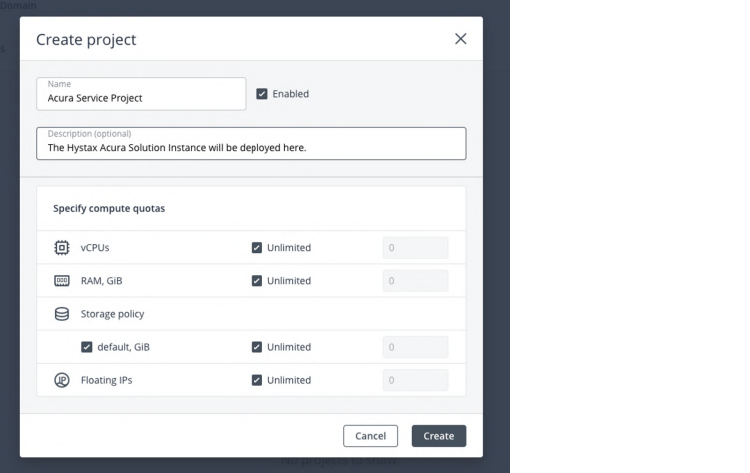
2. Create a target project inside the target domain to host migrated workloads and Hystax Cloud Agent. The target project is used to run the replicated workloads, including the Acura Cloud Agent. It provides a container for virtual resources with defined limits for vCPU, RAM, storage, and floating IP addresses, and controls user access. A network, a virtual network, and a router are automatically created in this project.
Click on the name of the domain → click on Projects → +Create project. Specify compute quotas according the Installation requirements section recommendations for Cloud Agent
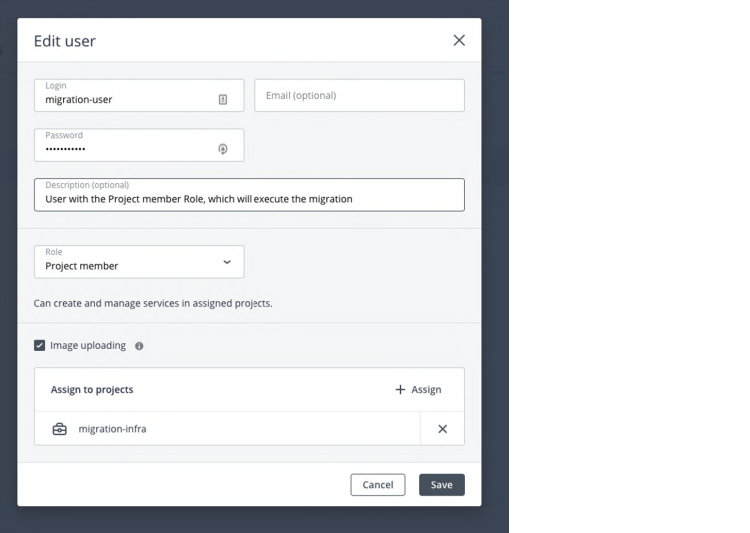
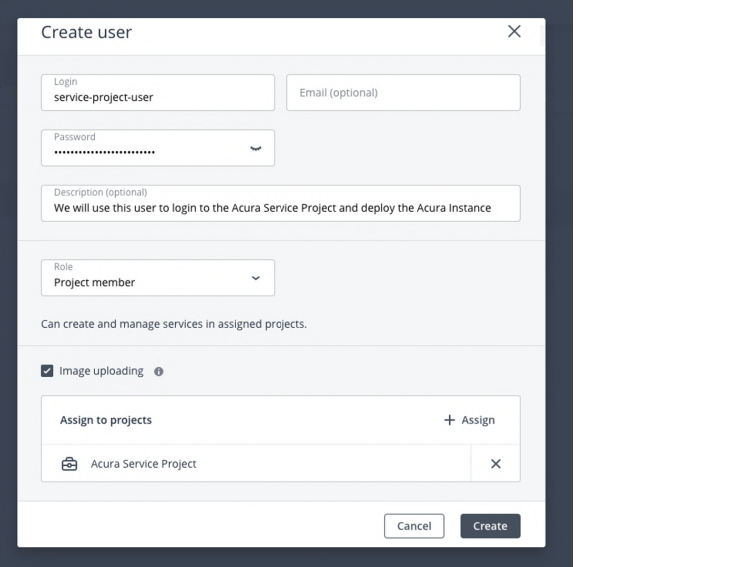
3. Create a project user. This user runs the replication. Use the project user name when configuring Hystax Acura. Assign the user a role with the permissions required to perform replication tasks. The role defines which actions a user can perform at the level of the entire infrastructure, a specific domain, or a single project. Assign the user the Project Member role with a single-project scope.
Click on Domain Users → +Create user:
- Set Image uploading on
- Assign the user to the project created on the second step
- Set Project Member role
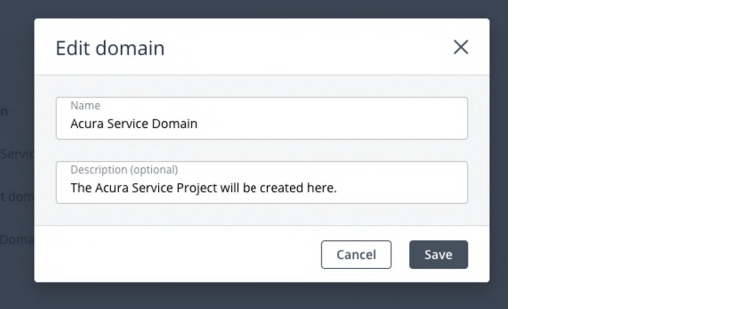
4. Create the Acura service domain, project, and user.
-
Go to Projects and users tab on the left-hand side navigation menu → click Create Domain
-
Click on the domain → Projects → +Create Project to create a project for Hystax Acura. In this project Acura Hystax is deployed. Specify compute quotas according the Installation requirements section recommendations for machine created from the Hystax Acura Golden image
-
Go to Projects and Users → click on service domain created before → +Create User. Assign a user to the service project with the Project Member role.
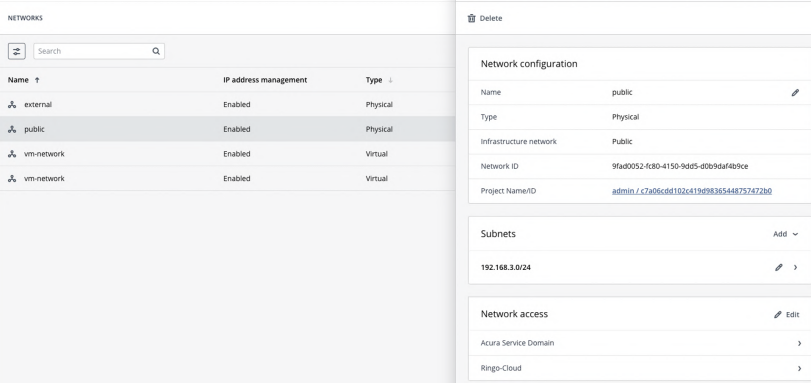
5. Configure the Hystax service network.
-
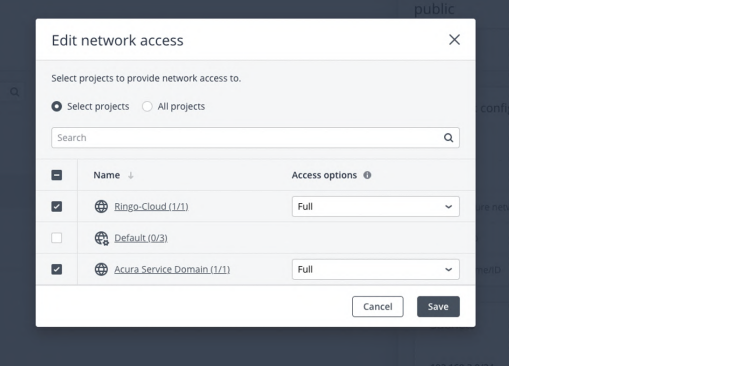
Log in to Virtuozzo Hybrid Infrastructure Admin Panel → click on the network on the left-hand navigation panel → go to the network access section → click Edit
-
Enable the network on all domains created earlier.
6. Download the Hystax Acura image to the admin panel and upload it to the Service project created on step 4:
-
SSH in to Virtuozzo Hybrid Infrastructure Admin panel compute node
-
Source admin credentials:
su - vstoreadminkolla-ansible post-deploy; exitsource /etc/kolla/admin-openrc,sh
-
wget https://xx-hystax-imagexx-acura.tar-gz -
tar -xvf xx-hystax-imagexx-acura.tar.gz -
openstack --insecure image create "Hystax Acura" --disk-format raw --container-format bare --file Hystax_VA_MGR_Virtuozzo_3_7_1701-release-3_7_ --project name_of_the_hystax_service_project
7. Deploy the Hystax Acura on Virtuozzo Hybrid Infrastructure Platform:
-
Log in to the Service project
https://fgdn:8800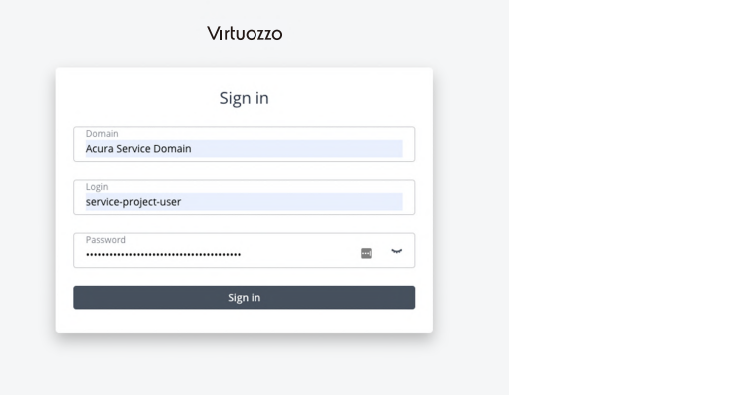
-
Create a virtual network attached to the Hystax Acura. Go to Networks → Create Virtual Network

-
Create a router. It allows to provide SNAT (outbound access) to the Hystax Acura. On this step connect the physical external network with newly created virtual network.
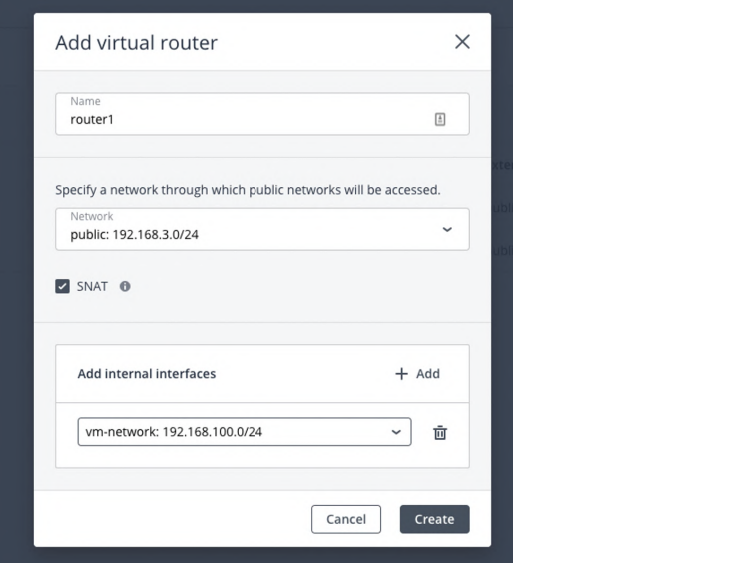
-
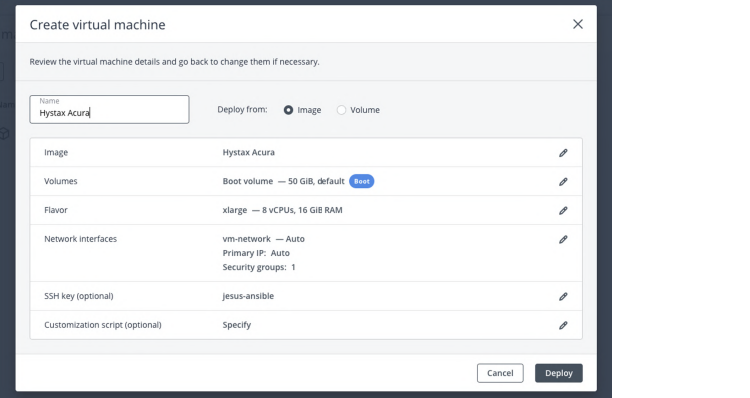
Deploy an instance using Hystax Acura Golden image, attach a key pair. Create an instance with the following info:
- See the Installation requirements section recommendations for machine created from the Hystax Acura Golden image (Xlarge flavour)
- Image Hystax_Acura_VA_MGR_Virtuozzo_X_XXX
- Use Default Security Group
- Image Hystax_Acura_VA_MGR_X_XX
- Add a virtual network interface created earlier
- Add SSH key pair to the instance
Note
Adding a key pair is highly recommended to provide an SSH access to the machine.
Warning
It takes from 10 to 20 minutes to for services to start and the Acura UI become available.
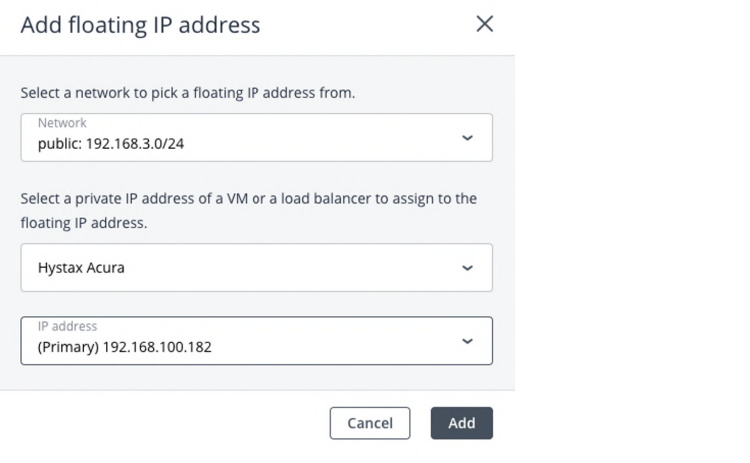
8. Assign a floating IP to newly created Hystax Acura instance.
-
Log in to the
https://your-fqdn-vhi.com:8800 -
Log in to the Acura Service domain under the user defined for this domain → go to Floating IPs → Add
Warning
In this example we use Private IPs, but in a real scenario this should be a Public IP.
Pass Acura initial configuration#
Once the VM is started, wait approximately 20 minutes for it to boot up, then open its EIP in a web browser. Please accept the certificate warnings to be redirected to the initial configuration page.
If the solution is inaccessible, refer to this instruction.
Step 1. Admin user creation.
Enter the organization name and new Hystax Admin User credentials into the Setup Wizard. This iss the user account for logging in to Hystax Acura Control Panel and managing the system. If there are any errors, the system notifies you.

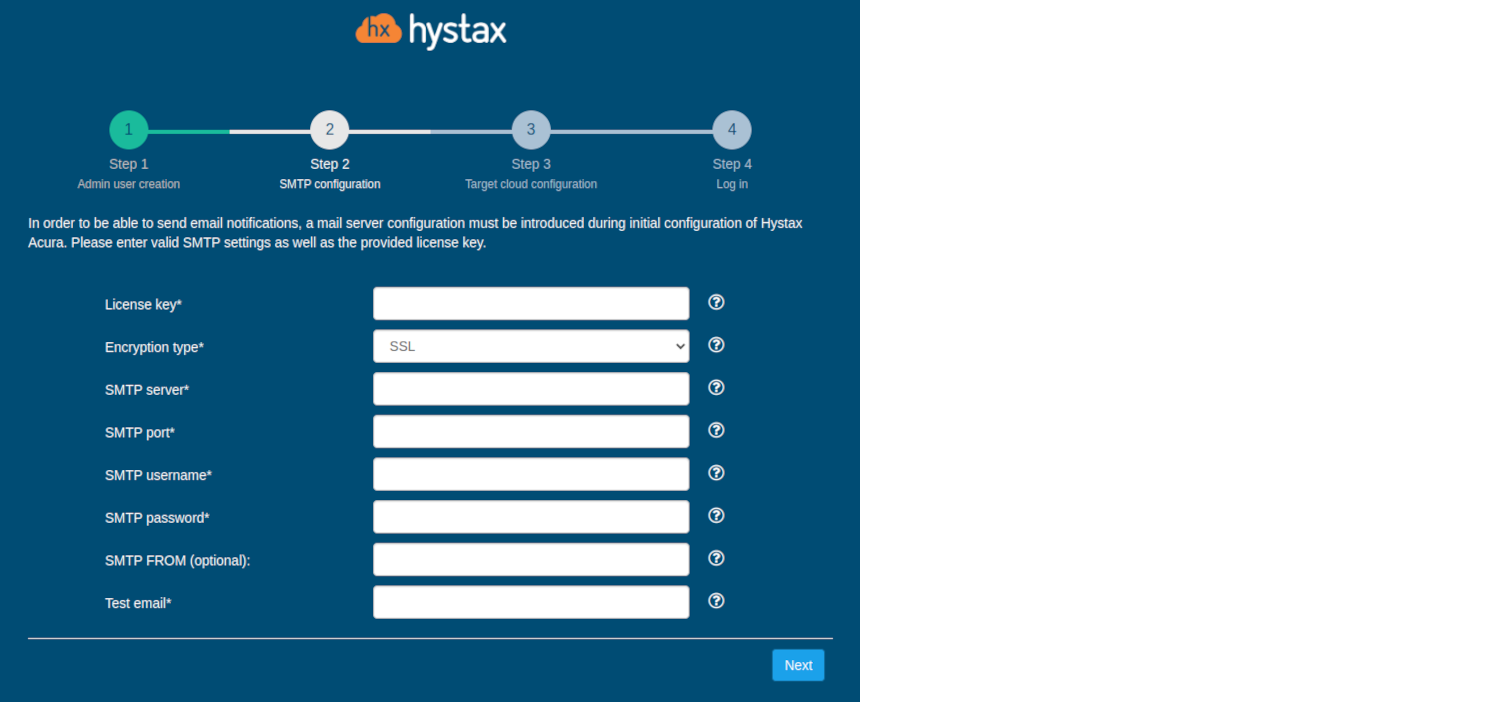
Step 2. SMTP configuration.
Fill in your Hystax License key that was supposed to be shared with you in advance as well as the settings for accessing your mail server, which is used to send notifications from Acura and generate periodic reports.
Warning
SMTP server with TLS/SSL encryption is required to proceed with deployment.
A sample notification is sent to the specified "Test email" to verify the functionality when you click "Next".
Step 3. Target cloud configuration.
Fill in all the fields by providing cloud configuration details. Use question mark icons to get hints on the fields. After you click "Next", the Setup Wizard validates the entered data and notifies you in case of an error.
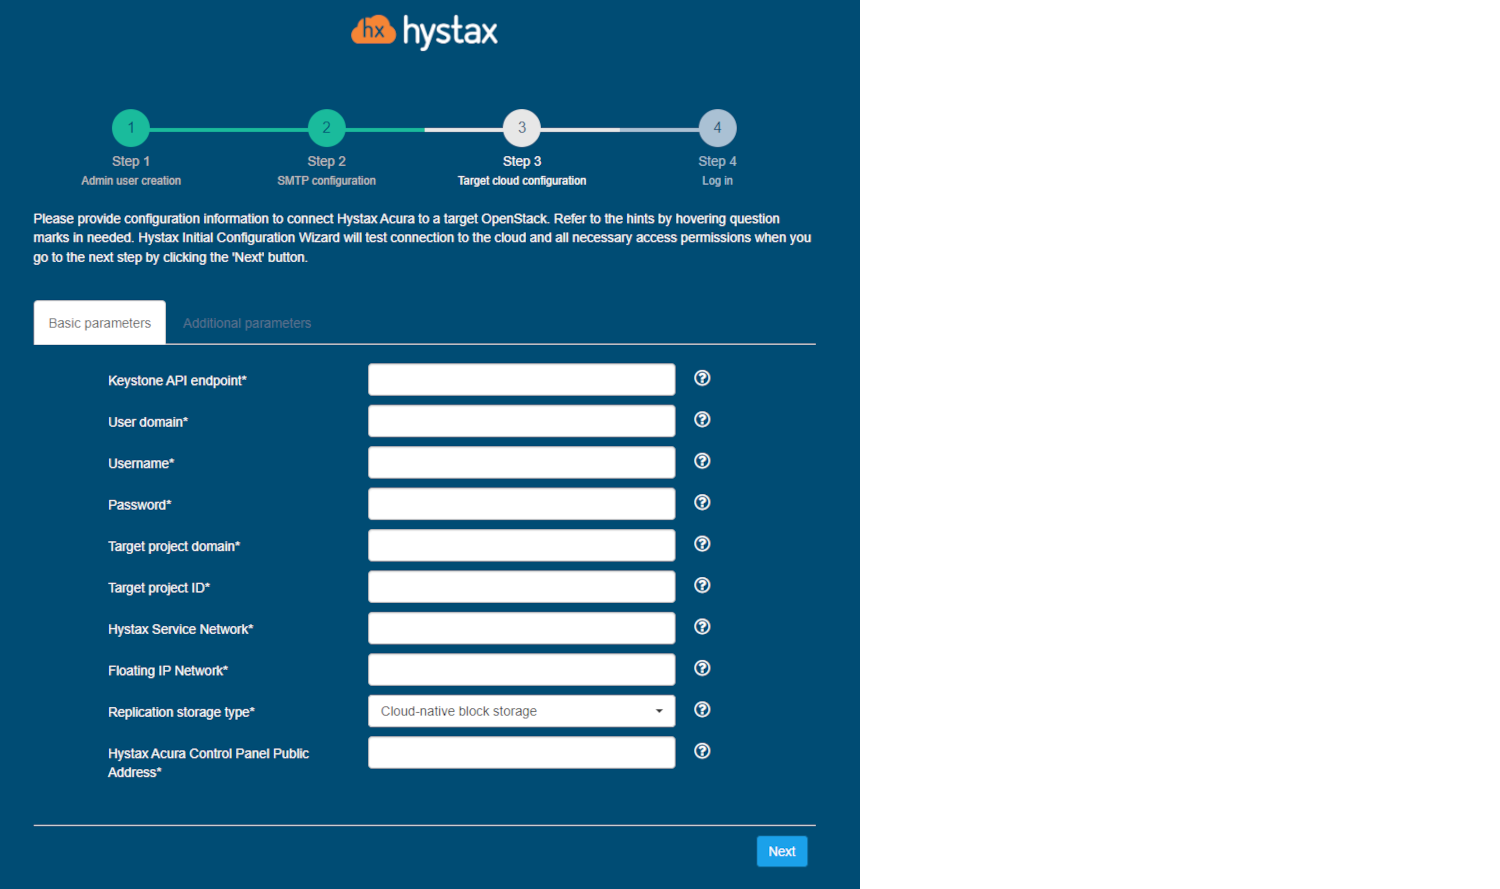
Detailed description of the fields.
Click "Next" to start cloud validation.
Step 4. Log in.
Once the validation is complete, click on the "Log in" button, and log into Acura Control Panel. Accept the certificate warnings if needed.
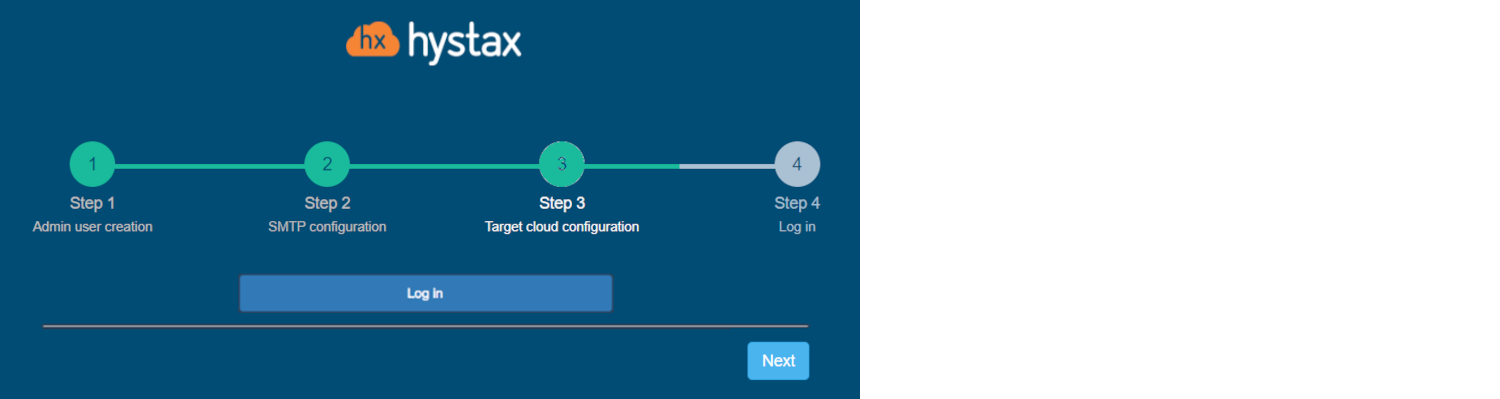
Congratulations, you are now ready to use Acura! Just enter the administrator username and password specified on the first step of installation in the login page of the solution.