Direct2Target#
Installation requirements#
- Golden image with Hystax Acura (provided by request)
- Resources to launch a virtual machine disk created from the Hystax Acura Golden image:
- 8 vCPUs
- 16GB RAM
- 200GB SSD disk
-
Resources to launch a virtual machine instance for the Hystax Direct2Target agent. Allocate these resources for each migrating machine:
- At least 2 vCPUs; increase the number based on the CPU configuration of the source machine
- At least 4 GB RAM; increase the amount based on the memory configuration of the source machine
- Disk configuration: the same number of disks as the source machine, with each disk capacity equal to or greater than that of the corresponding source disk
-
SMTP server with TLS/SSL encryption
-
Security groups allowing the following traffic:
-
Hystax Acura host:
- Ingress — tcp/443
- Ingress — tcp/4443
- Ingress — udp/12201
-
Hystax Direct2Target agent (manually deployed in the target project):
- Ingress — tcp/443
-
Installation steps#
Deploy Acura#
Upload Acura imagе to the target cloud admin panel and create an instance based on it. Configure networks, user permissions, and access settings.
Pass Acura initial configuration#
Once the VM is started, wait approximately 20 minutes for it to boot up, then open its EIP in a web browser. Please accept the certificate warnings so that you are redirected to the initial configuration page.
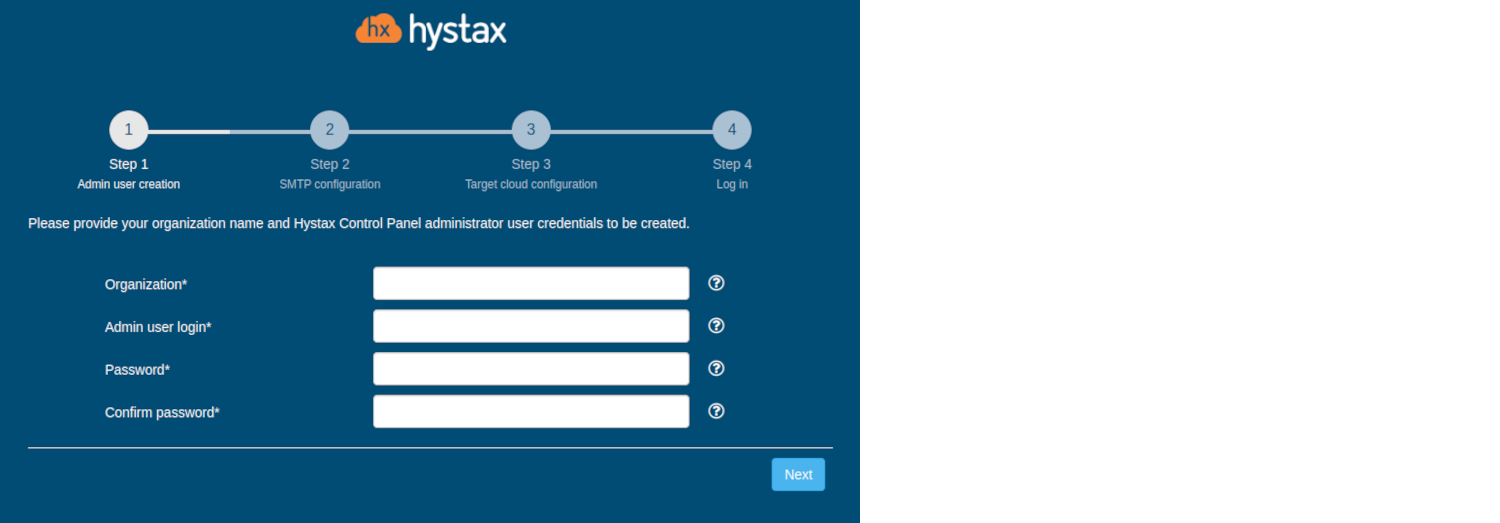
Step 1. Admin user creation
Enter the organization name and new Hystax Admin User credentials into the Setup Wizard. This is the user account for logging in to Hystax Acura Control Panel and managing the system. If there are any errors, the system notifies you.
Step 2. SMTP configuration
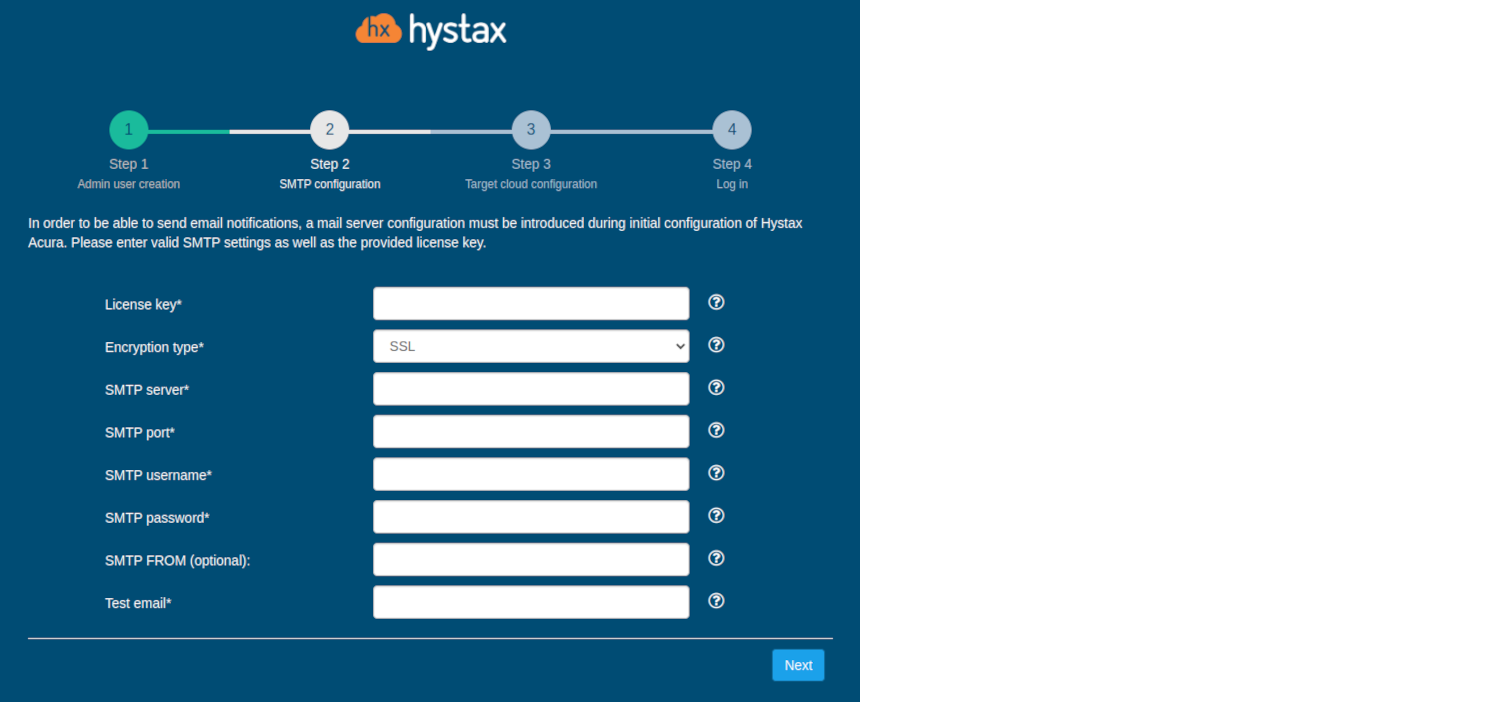
Fill in your Hystax License key that was supposed to be shared with you in advance as well as the settings for accessing your mail server, which is used to send notifications from Acura and generate periodic reports.
Warning
SMTP server with TLS/SSL encryption is required to proceed with deployment.
A sample notification is sent to the specified "Test email" to verify the functionality when you click "Next".
Step 3. Target cloud configuration
Fill in all the fields by providing cloud configuration details. Use question mark icons to get hints on the fields. After you click "Next", the Setup Wizard validates the entered data and notifies you in case of an error.
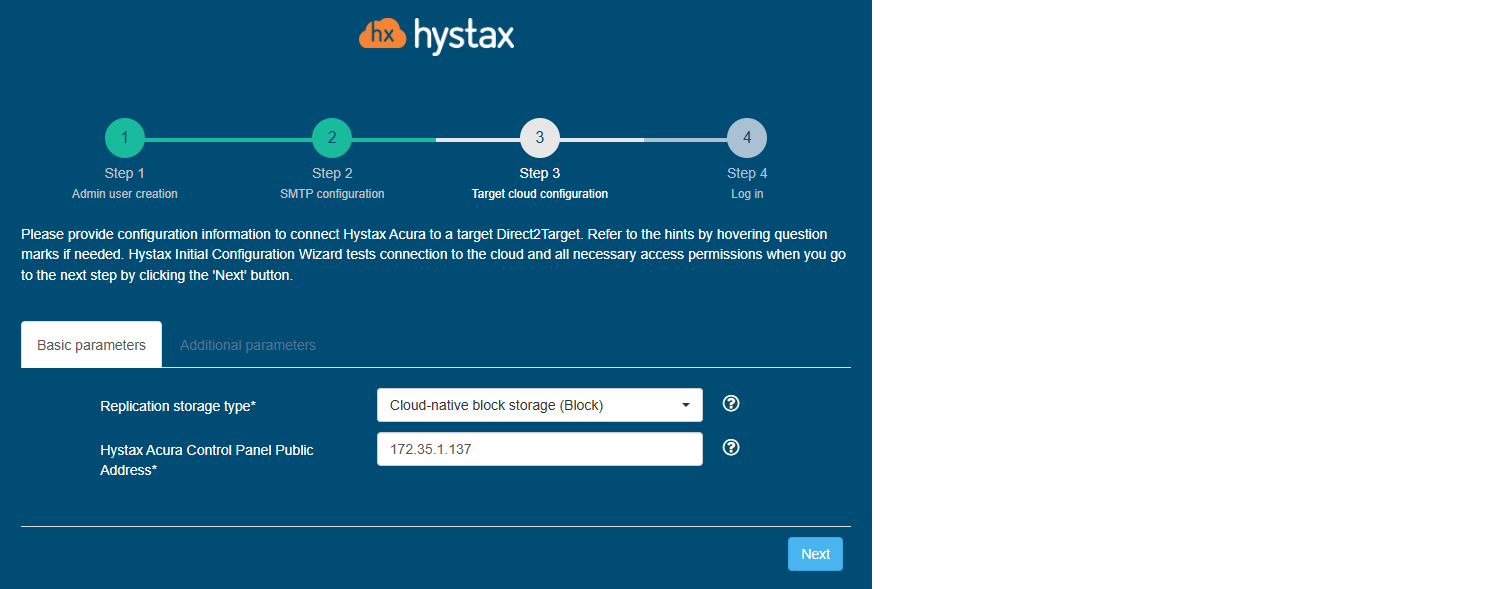
Detailed description of the fields.
Click "Next".
Step 4. Log in
Once the validation is complete, click on the "Log in" button, and log into Acura Control Panel. Accept the certificate warnings if needed.
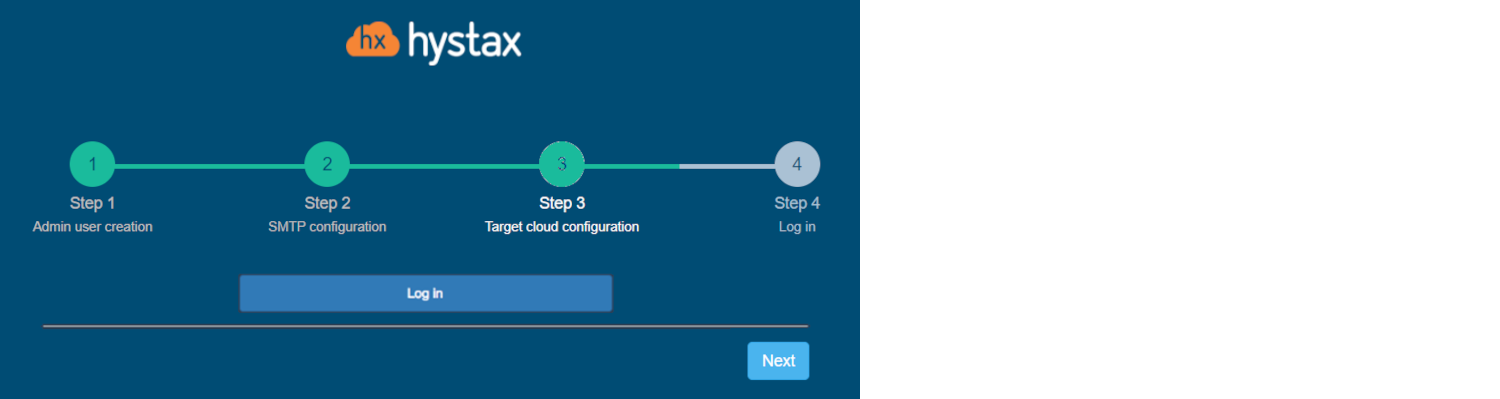
Congratulations, you are now ready to use Acura! Just enter the administrator username and password specified on the first step of installation in the login page of the solution.