CloudSigma#
Installation requirements#
-
Golden image with Hystax Disaster Recovery Controller and Hystax Cloud Agent.
-
Resources to launch a virtual machine created from the Hystax Disaster Recovery Golden image:
- 8 vCPUs,
- 16GB RAM,
- 250GB SSD disk.
-
Resources to launch a virtual machine for the Hystax Cloud Agent. Created in each target / failover namespace:
- 2 vCPUs,
- 4GB RAM,
- 20GB disk.
-
Network connectivity between source site and Hystax Disaster Recovery VM via ports tcp/443 and udp/12201.
- Network connectivity for Disaster Recovery user via tcp/443 (UI/API) and tcp/4443 (Initial configuration UI, should be closed after).
Installation steps#
Cloud configuration#
Deploy Controller
1. Download locally and extract the archive provided by Hystax.
2. Upload volume to CloudSigma.
3. Deploy a VM from the uploaded volume.
4. Start the VM. It takes from 10 to 20 minutes for the services to start and the Web UI to become available.
Deploy Cloud Agent
1. Download locally and extract the archive provided by Hystax.
2. Upload volume to CloudSigma.
3. Rename the image to Hystax_CATI.
Note
You must not deploy Cloud Agent instances. Disaster Recovery automatically creates them using the Hystax_CATI image as a template.
Pass Disaster Recovery initial configuration#
Wait 10-20 minutes for the platform to boot up, open a web browser and go to https://<PLATFORM_IP_ADDRESS>/. Please accept the certificate warnings to be redirected to the initial configuration page.
If the platform is inaccessible, refer to this instruction.
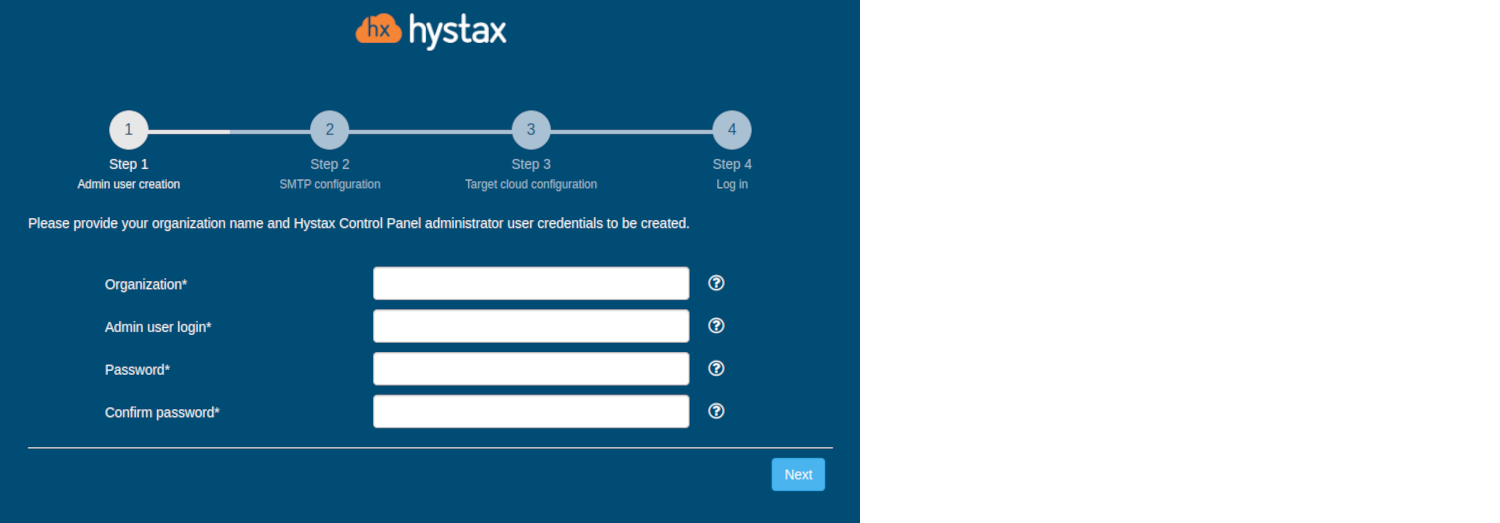
Step 1. Admin user creation.
Enter the organization name and new Hystax Admin User credentials into the Setup Wizard. This is the user account for logging in to Hystax Disaster Recovery Control Panel and managing the system. If there are any errors, the system notifies you.
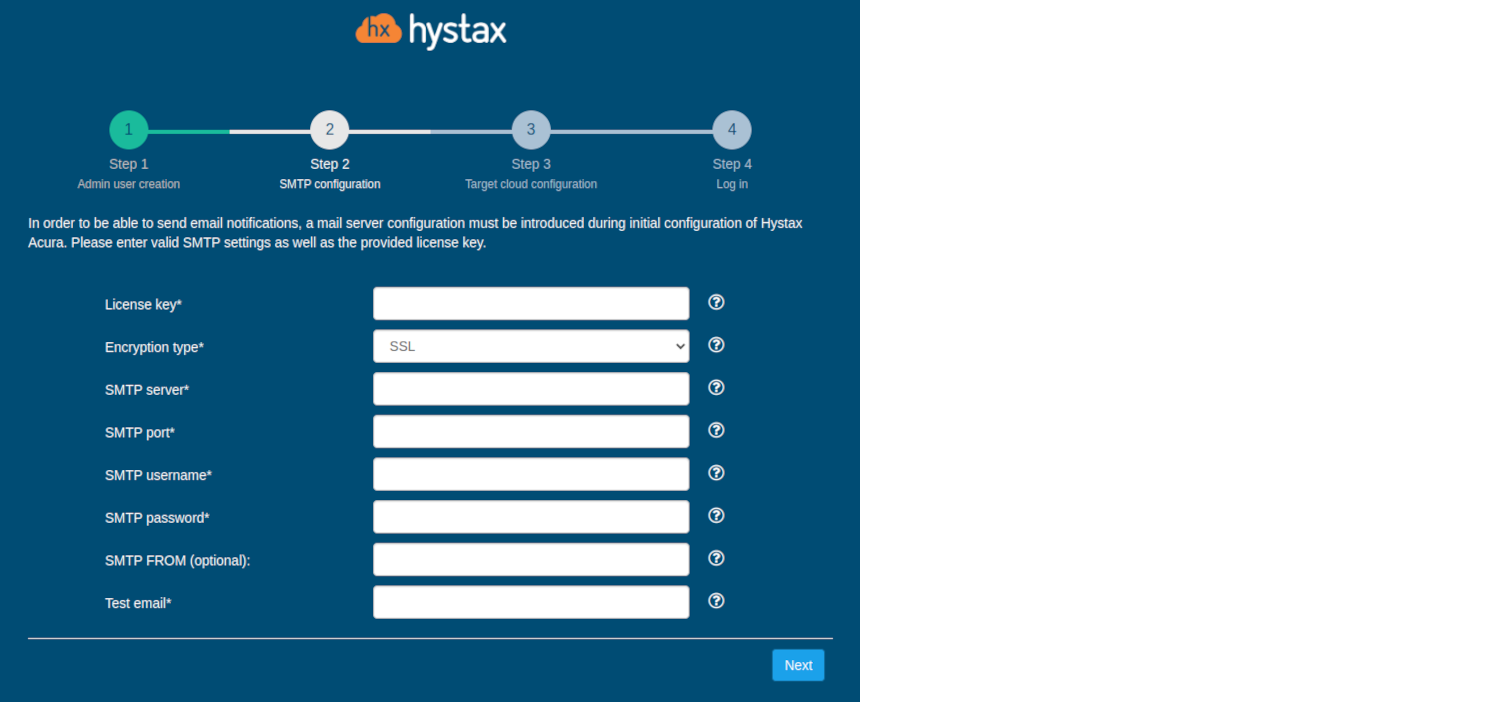
Step 2. SMTP configuration.
Fill in your Hystax License key that was supposed to be shared with you in advance as well as the settings for accessing your mail server used to send notifications from Disaster Recovery and generate periodic reports.
Warning
SMTP server with TLS/SSL encryption is required to proceed with deployment.
If you prefer a public SMTP server associated with your email address (gmail, yahoo etc.), please find its settings online. In case of a private SMTP server, contact your network administrator for further details.
A sample notification is sent to the specified "Test email" to verify the functionality when you click "Next".
Step 3. Target cloud configuration.
Fill in all the fields by providing cloud configuration details. Use question mark icons to get hints on the fields. After you click "Next", the Setup Wizard validates the entered data and notifies you in case of an error.
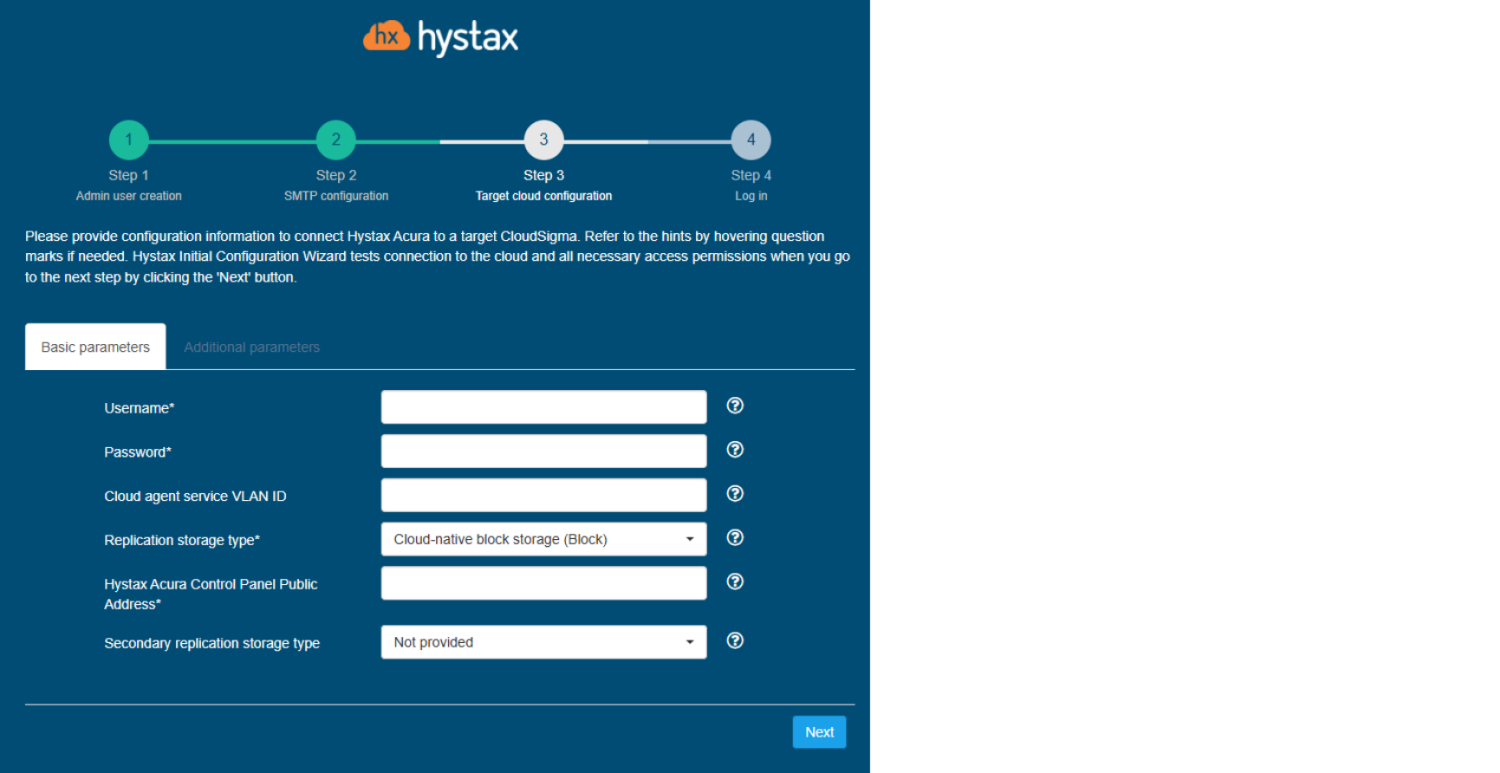
Detailed description of the fields.
Click "Next" to start cloud validation.
Step 4. Log in.
Installation is complete, and you can now log in to the system using credentials entered in the first step.
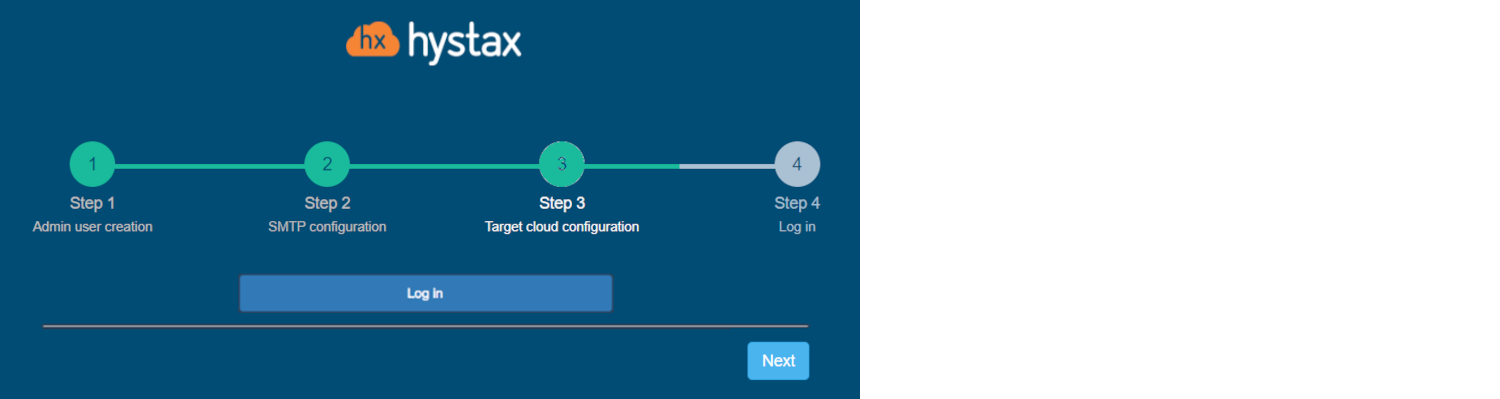
Congratulations, you are now ready to use Disaster Recovery! Just enter the administrator username and password specified on the first step of installation in the login page of the platform.