STACKIT#
Installation requirements#
- Golden image with Hystax Disaster Recovery (provided by request).
-
Resources to launch a virtual machine disk created from the Hystax Disaster Recovery Golden image:
- 8 vCPUs,
- 16GB RAM,
- 200GB SSD disk.
-
Resources to launch a virtual machine for the Hystax Cloud Agent. Created in each target / failover project:
- 2 vCPUs,
- 4GB RAM,
- 20GB disk.
-
SMTP server with TLS/SSL encryption.
-
Security groups allowing the following traffic:
-
Hystax Disaster Recovery host:
- Ingress -- tcp/443,
- Ingress -- tcp/4443,
- Ingress -- udp/12201.
-
Hystax Cloud Agent (spawned automatically in the Target Project):
- Ingress -- tcp/80,
- Ingress -- tcp/443 (only if the
Use HTTPS server on cloud agentoption is enabled).
-
Installation steps#
Cloud configuration#
Create a dedicated service account and generate a service account key. These credentials are required to authenticate with the STACKIT APIs and configure the STACKIT Cloud integration in Hystax Disaster Recovery.
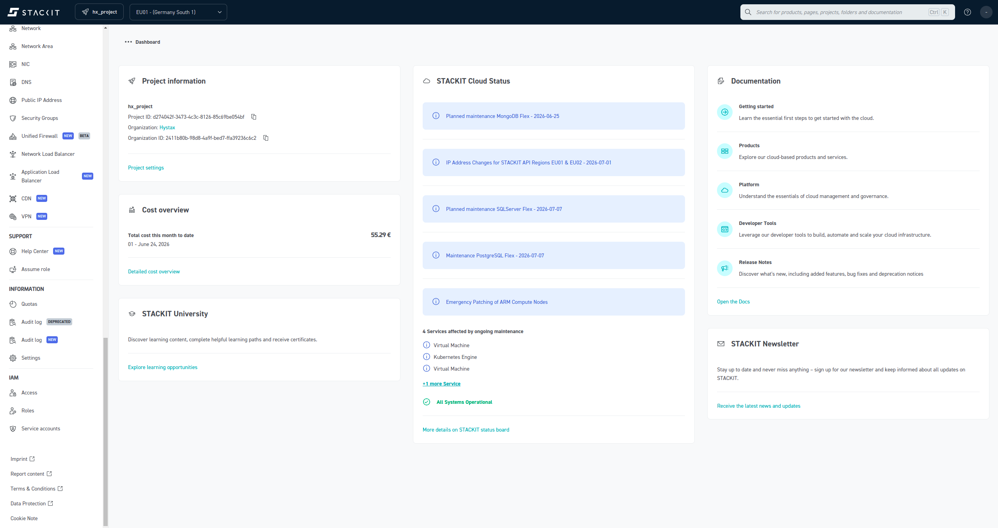
1. Open the STACKIT Project Dashboard
Log in to the STACKIT Portal and select the project to use for the integration.
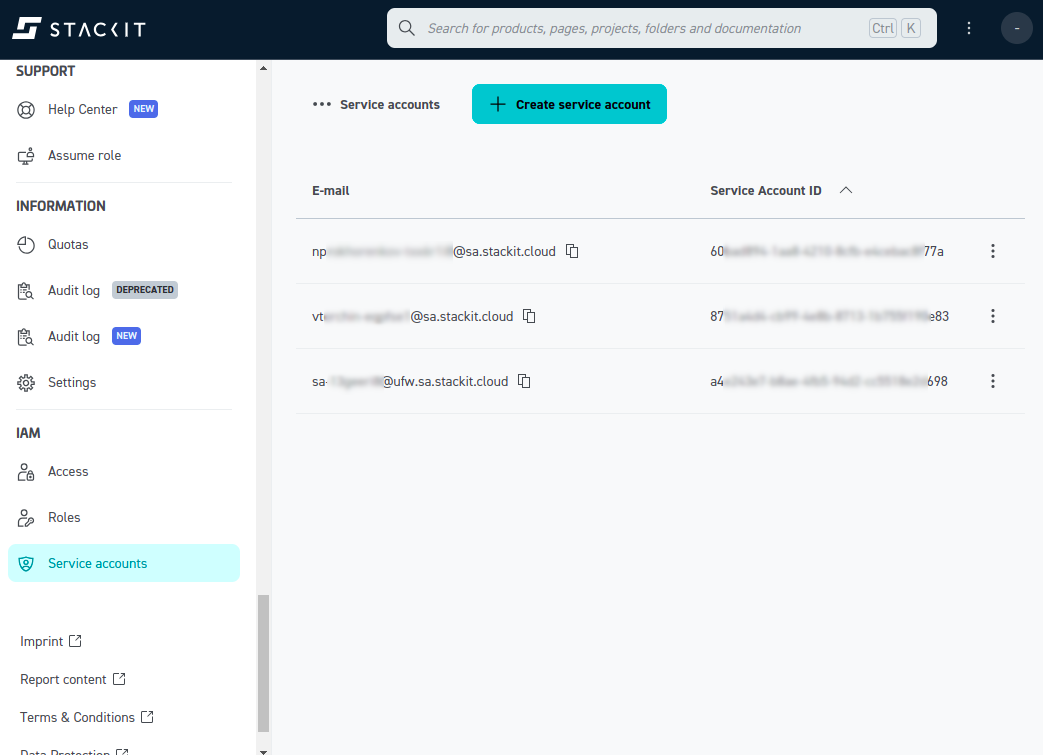
2. Create a service account
Navigate to IAM → Service accounts and click + Create service account.
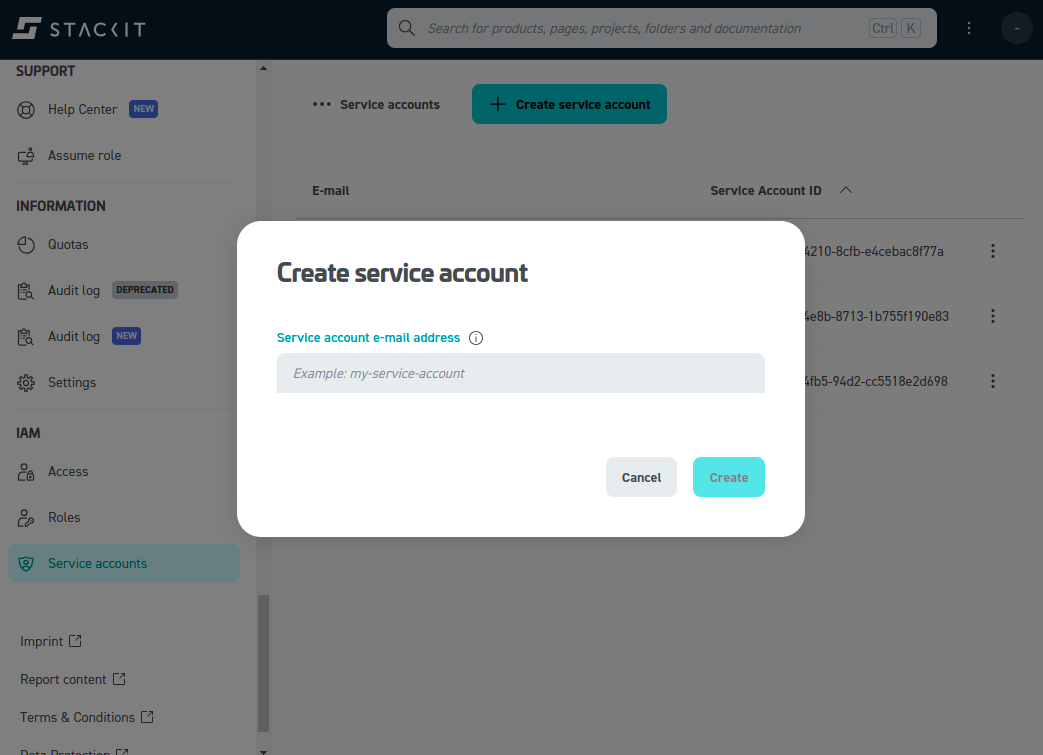
Enter a meaningful service account name (for example, my-service-account) and click Create.
3. Create a service account key
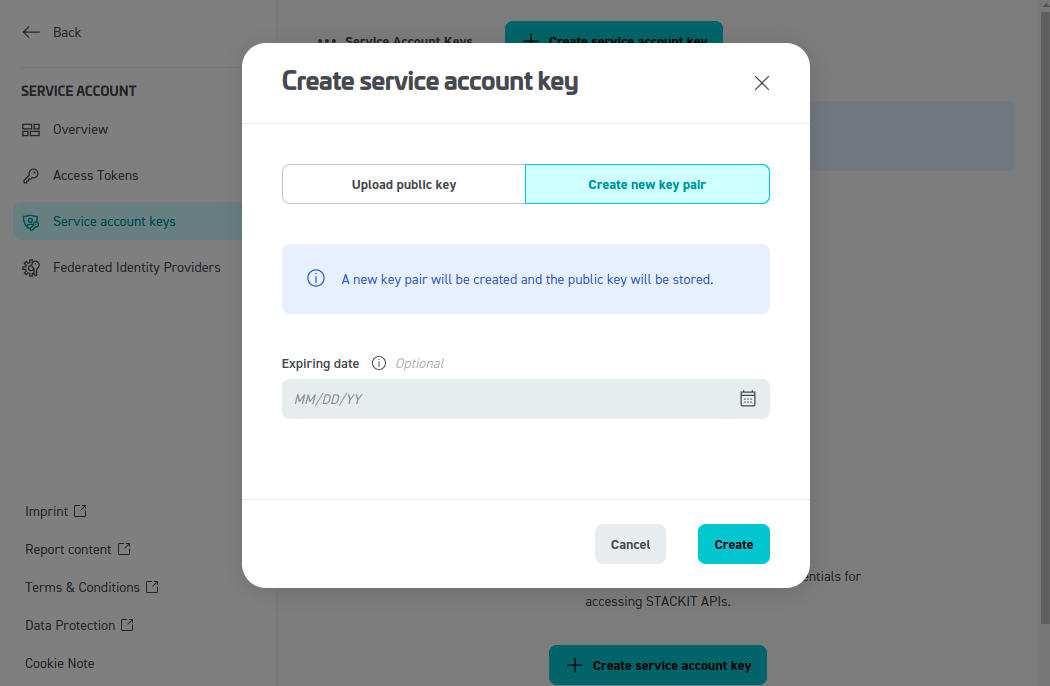
Open the newly created service account and navigate to Service account keys. Click + Create service account key.
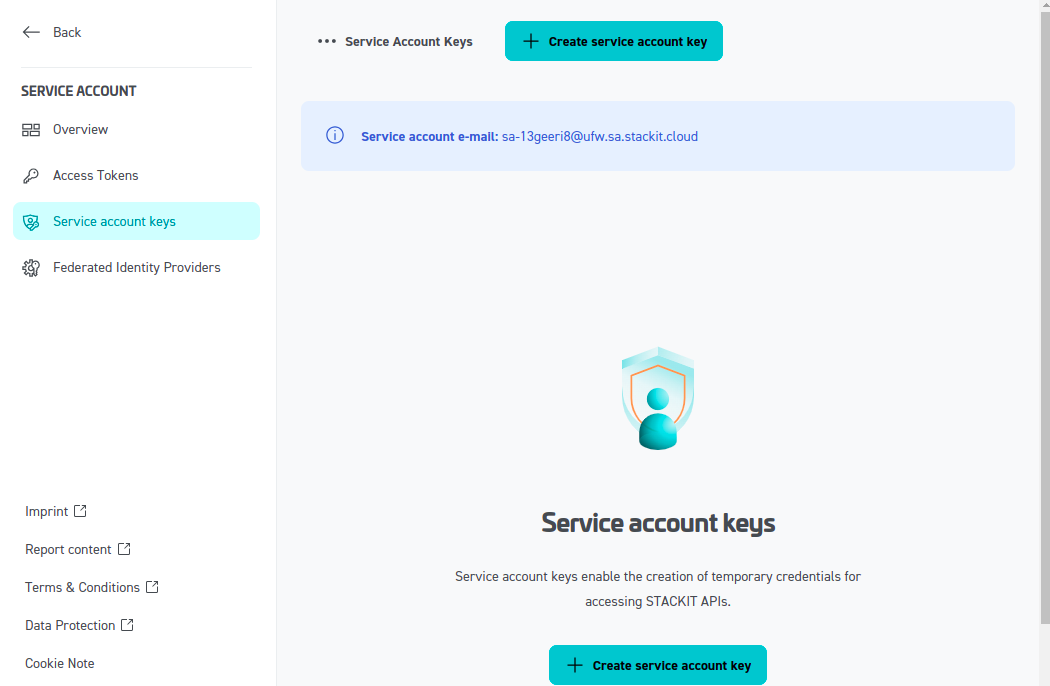
Select Create new key pair (or upload an existing public key if required), optionally specify an expiration date, and click Create.
4. Save the credentials
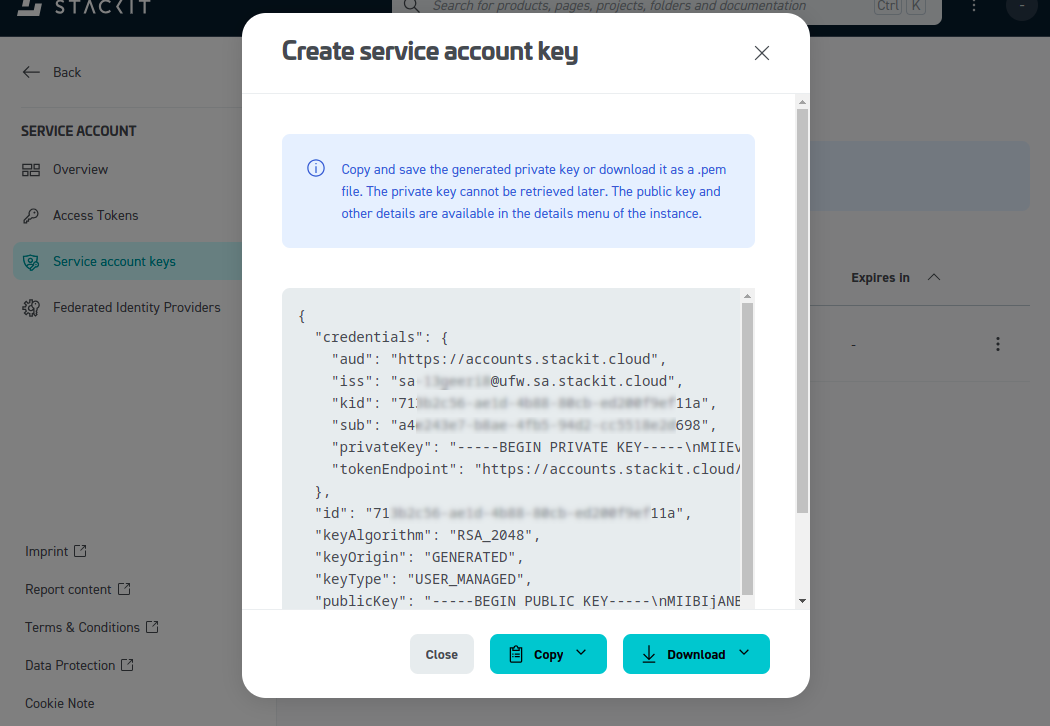
After the key is created, STACKIT displays the generated credentials.
Warning
The private key is displayed only once. Copy or download it immediately and store it securely.
Save the credentials in one of the following ways:
- Copy the JSON credentials.
- Download the credential file (for example, a
.pemfile, depending on your workflow).
Pass Disaster Recovery initial configuration#
Open a web browser and go to https://<PLATFORM_IP_ADDRESS>/. Please accept the certificate warnings to be redirected to the initial configuration page.
If the platform is inaccessible, refer to this instruction.
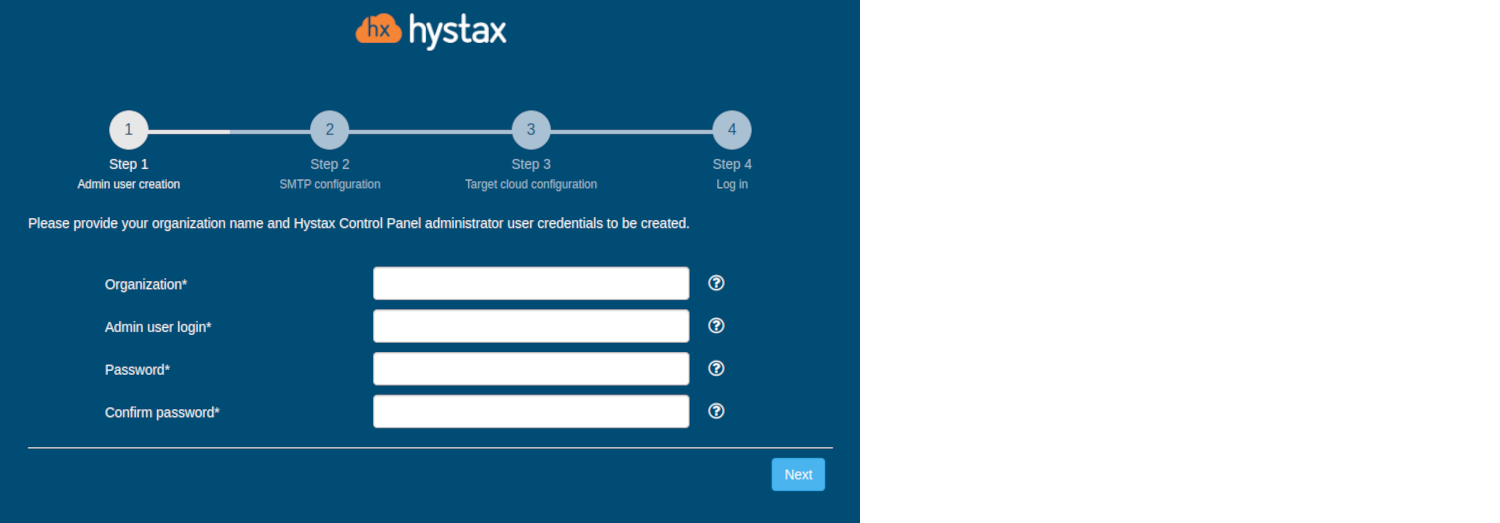
Step 1. Admin user creation.
Enter the organization name and new Hystax Admin User credentials into the Setup Wizard. This is the user account for logging in to Hystax Disaster Recovery Control Panel and managing the system. If there are any errors, the system notifies you.
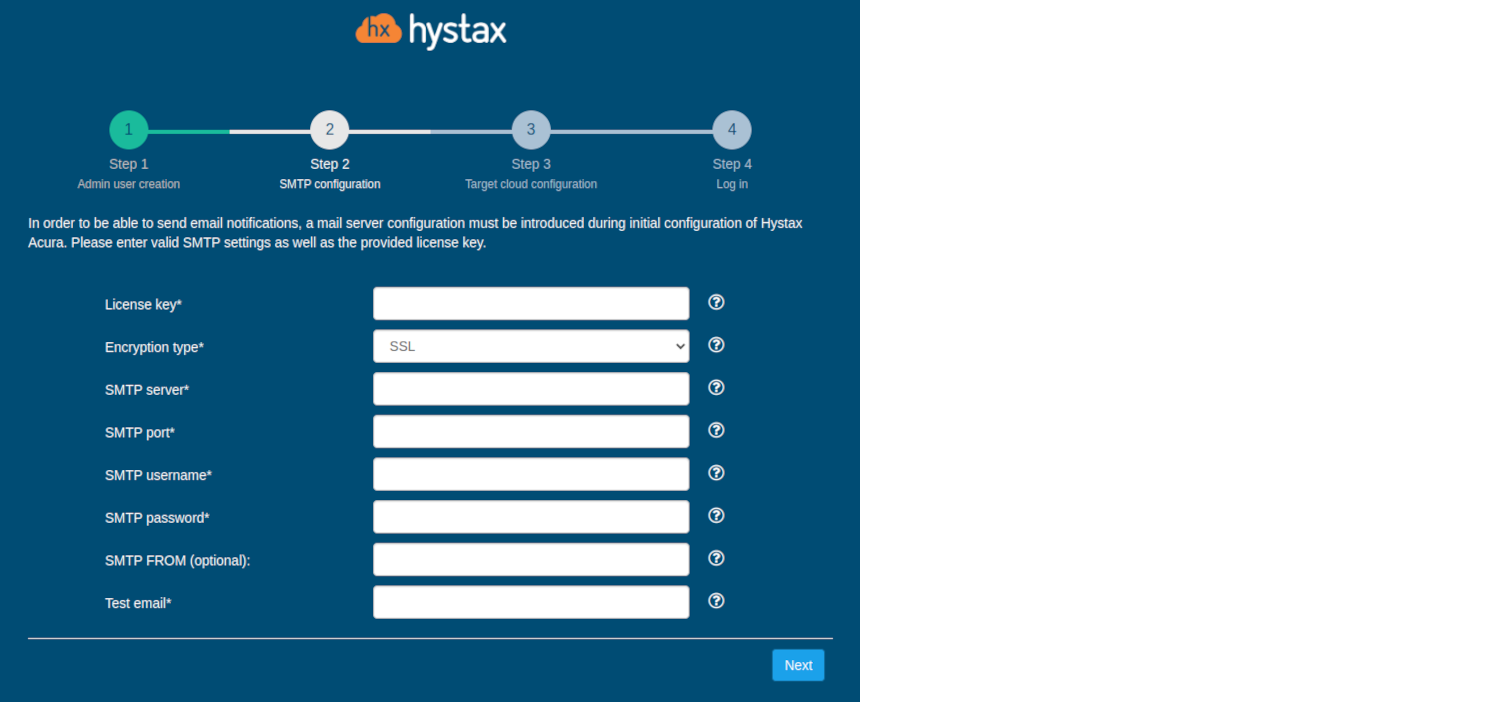
Step 2. SMTP configuration.
Fill in your Hystax License key that was supposed to be shared with you in advance as well as the settings for accessing your mail server, which is used to send notifications from Disaster Recovery and generate periodic reports.
Warning
SMTP server with TLS/SSL encryption is required to proceed with deployment.
If you prefer a public SMTP server associated with your email address (gmail, yahoo etc.), please find its settings online. In case of a private SMTP server, contact your network administrator for further details.
A sample notification is sent to the specified "Test email" to verify the functionality when you click "Next".
Step 3. Target cloud configuration.
Fill in all the fields by providing cloud configuration details. Use question mark icons to get hints on the fields. After you click "Next", the Setup Wizard validates the entered data and notifies you in case of an error.
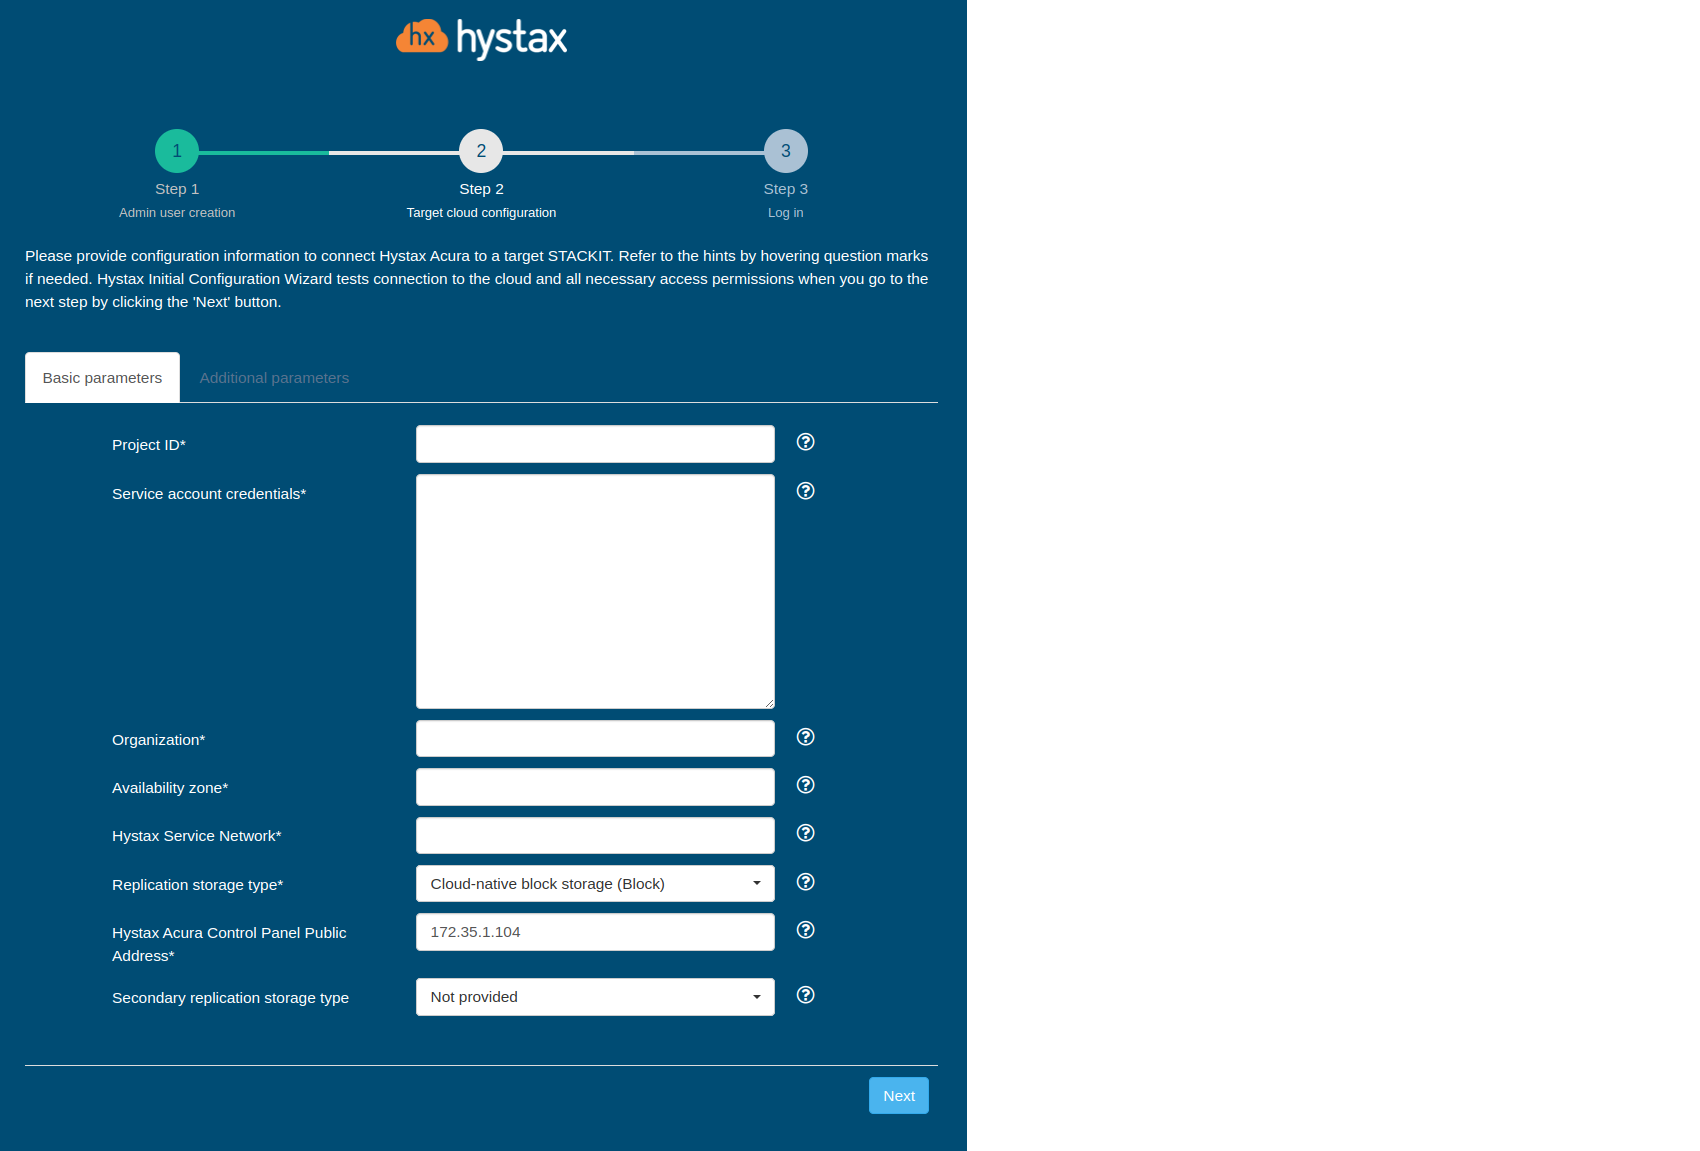
Detailed description of the fields.
Click "Next" to start cloud validation.
Step 4. Log in.
Installation is complete, and you can now log in to the system using credentials entered in the first step.
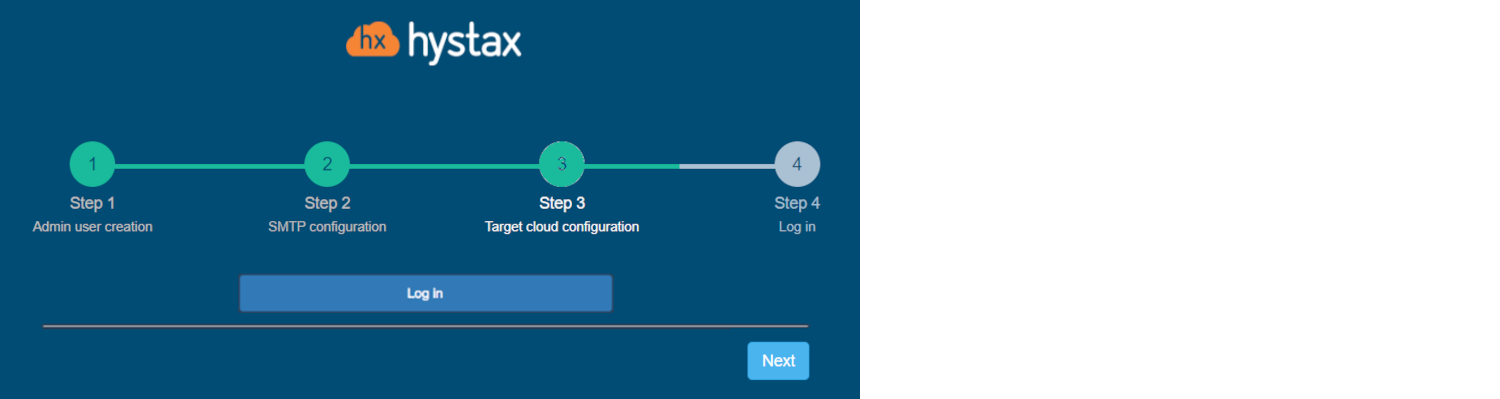
Congratulations, you are now ready to use Disaster Recovery! Just enter the administrator username and password specified on the first step of installation in the login page of the platform.