OptScale is a cloud cost management and optimization platform. Its focus primarily is helping businesses manage and optimize cloud resources to reduce costs, with functionalities like cost analysis, budgeting, and resource optimization recommendations. Implementing power scheduling in our cloud management platform is essential in helping you (our customers) manage your (their) clouds.
As a member of the Linux Foundation, Hystax strengthens its commitment to openness and collaboration through OptScale — our open-source FinOps platform that helps teams automate cloud cost optimization.

Setting Power Schedules with OptScale: a step-by-step guide
Cloud power scheduling is a crucial aspect of cloud computing management. It focuses on optimizing the use of computational resources to improve efficiency, reduce costs, and minimize energy consumption.
Effective power scheduling in cloud computing reduces operational costs and contributes to environmental sustainability by minimizing data centers’ carbon footprint. These techniques require sophisticated monitoring and management tools to balance performance, price, and energy consumption effectively.
This feature is implemented into OptScale. Its objective is to implement a power management policy that enables users to schedule instances to start/stop according to predefined schedules. This policy is applicable across multiple cloud platforms, including AWS, MS Azure, GCP, Alibaba, and Nebius.
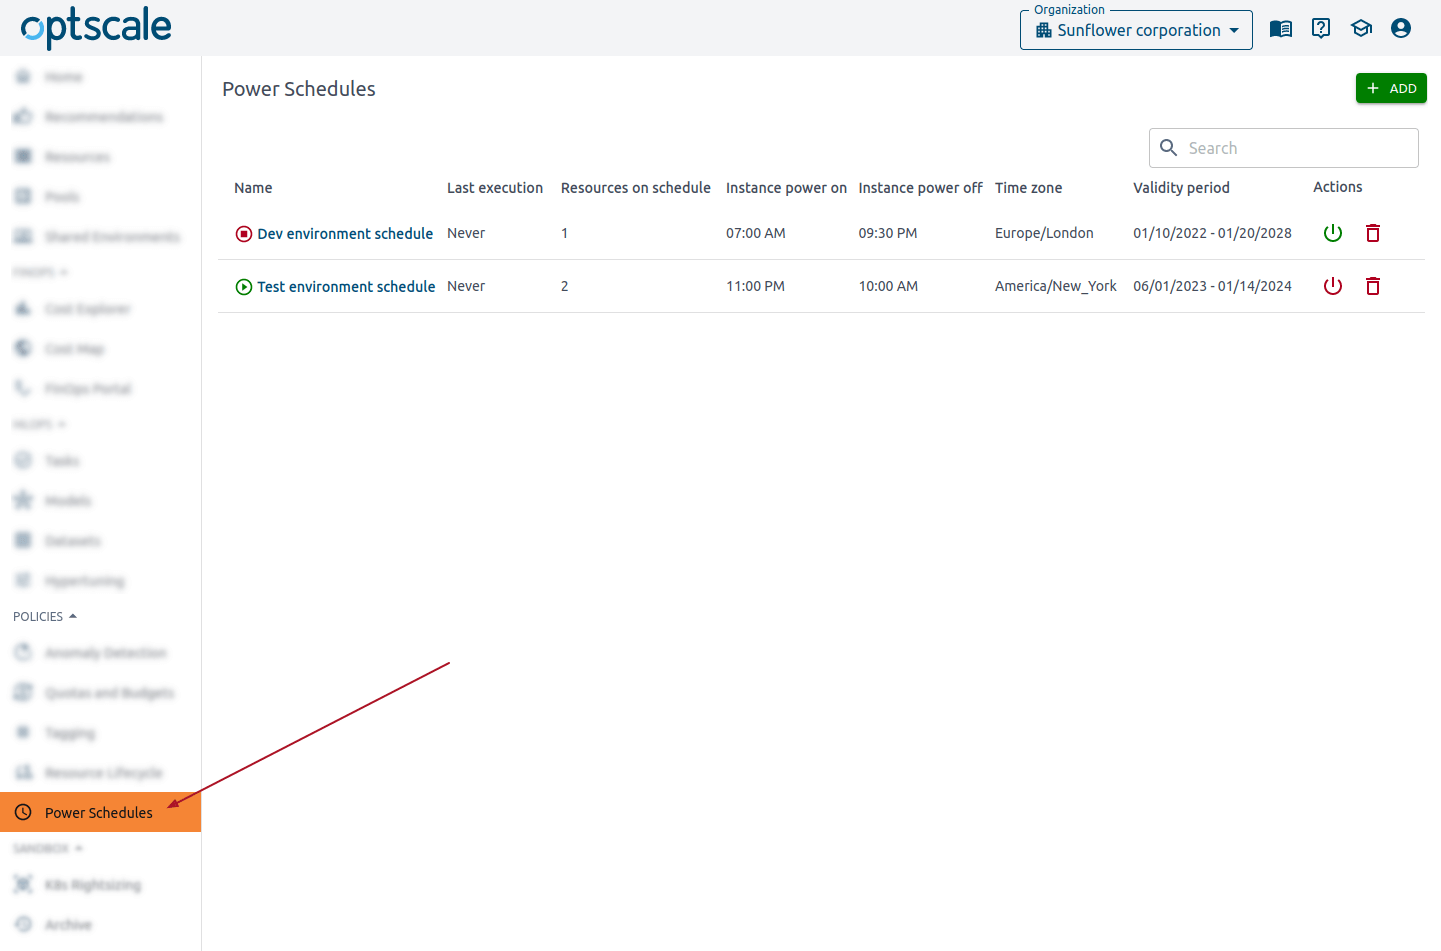
The entry point to the power schedule page is a ‘Power Schedules’ item in the ‘Policies’ section of the menu.

The Power Schedules table shows available schedules, the date of last execution, the amount of resources on schedule, the time of instance power on and off, the time zone, and the validity period. All those parameters are set during schedule creation.
Additional Add button and Actions menu for each row are available.
Please note that if a user doesn’t have the ‘Organization manager’ permission, the buttons will not be visible to them, and it will be impossible to launch the actions.

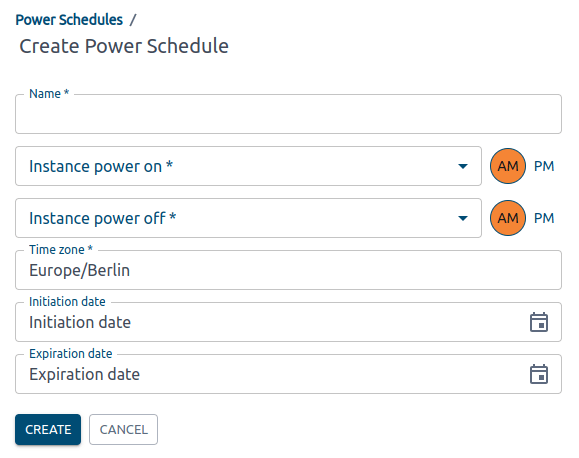
To create a Power Schedule, click the Add button and fill in the fields in the window.

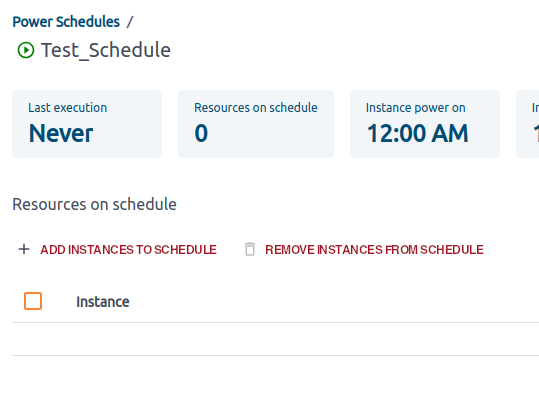
After clicking the Create button, a schedule will be created. Instances must be added to the schedule. To do it, click on the newly created schedule name in the table on the Power Schedules page.

Use ‘Add instances to schedule’ or ‘Remove instances from schedule’ to manage instances.

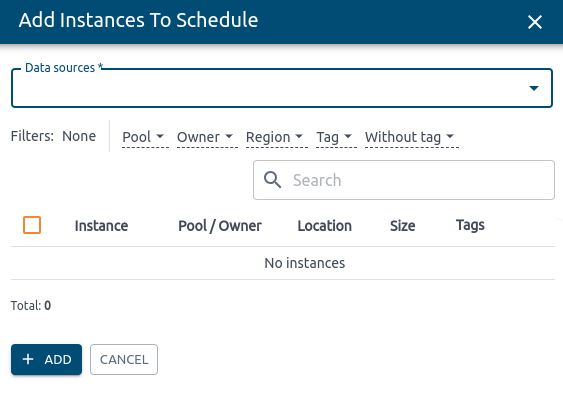
The side modal appears when you click the ‘Add instances to schedule’ button.

Free cloud cost optimization. Lifetime
You are prompted to select a Data Source. After that, a list of items will be displayed. Use the checkbox to select instances. When you are ready, click Add at the bottom of the page. When it’s done, the schedule will appear on the screen below.

Learn more about enhancing cloud and ML/AI resource management with Hystax OptScale Power Schedules →
We’d appreciate it if you would give us a Star.